35′ Long ProMounds Batting Cage Kit Installation Instructions
ProMounds Batting Cage Kit
Installation Instructions
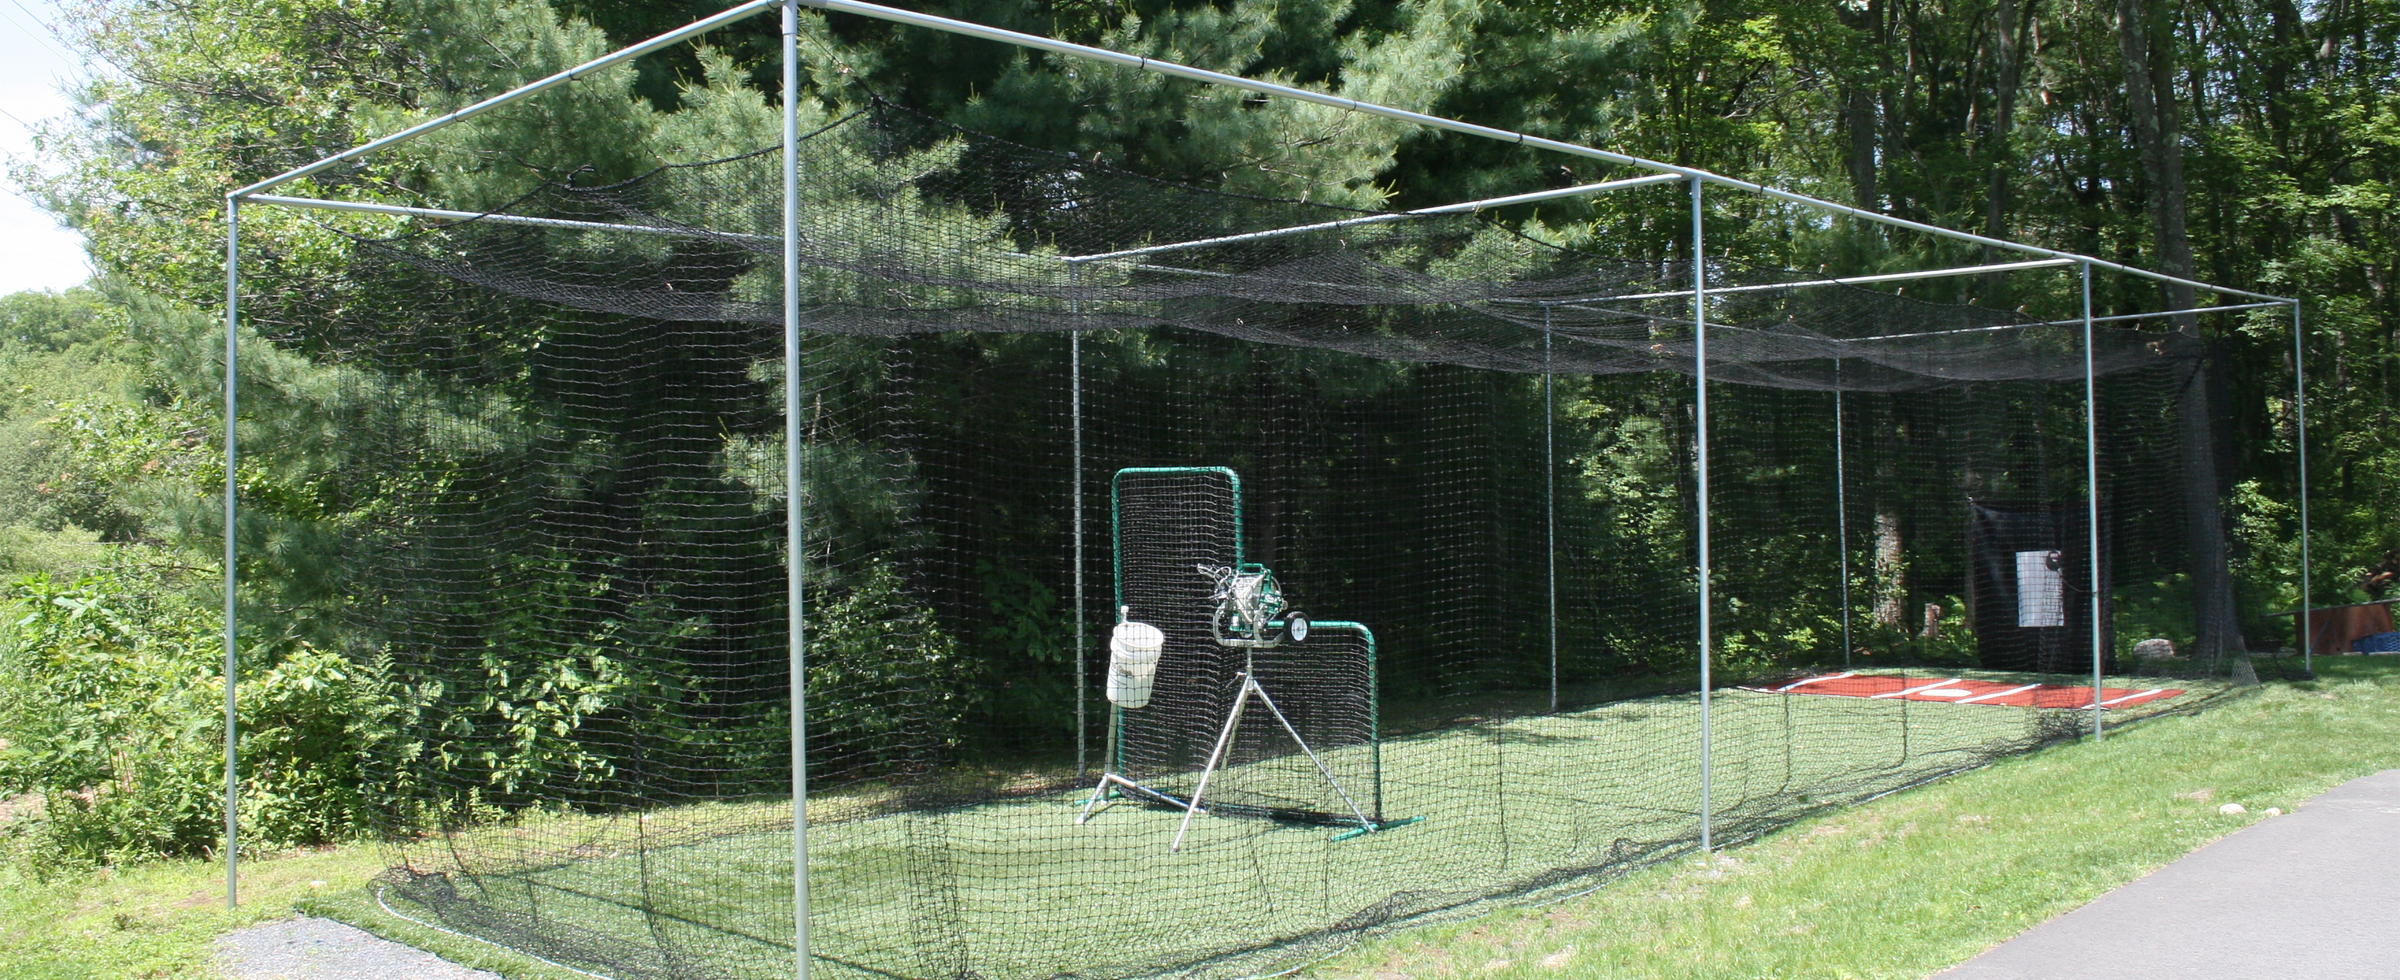
12’ Tall x 14’ Wide x 35′ Long
Batting cage frame kit includes the following parts:
(6) Corner Fittings
(20) 5/16′ x 1/2 Hex bolts (setscrews)
(50) Carabiner clips
(50) Rope (for Hangers)
Optional parts:
(6) Ground Sleeves
Your batting cage package includes the following poles:
1-5/8″ Galvanized Steel Round Tubing, 12 gauge (.065″)
(6) pieces – 12′ 6″ long each (Vertical Poles)
(3) pieces – 15′ 8″ long each (Cross Poles)
(4) pieces – 18′ 6” long each (Longitudinal Poles)

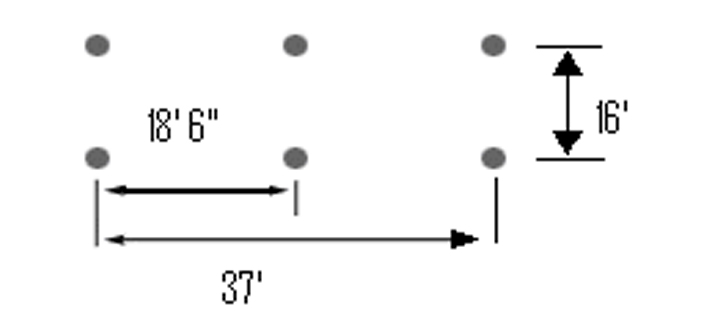
- Lay out the following pattern on the ground where the vertical poles will be placed. The frame is designed to be 37′ long by 16′ wide. If you have extra room, consider making the frame slighter larger. Longer rope hangers would be needed if the frame is larger. This allows the net to slow a ball more before it hits the frame, reducing ricochet speed.
- Dig or burrow each hole as laid out in step #1. Each hole should be below the frost line in your area. Your vertical poles will sit in the holes. By placing the vertical poles into the ground and below the frost line, the legs will be kept from moving around as players or balls hit the posts.Optional Ground Sleeve instructions: Set ground sleeves in cement, leaving above ground approximately 1” below the bolt hole. This allows poles to be tightened/loosened after the sleeves are secure.
- Thread each of the 5/16″ x 1/2″ setscrews into the fittings.
- With poles lying on the ground, connect two vertical poles to one cross pole with two corner fittings. Lock the poles into the fittings by tightening the set screws.
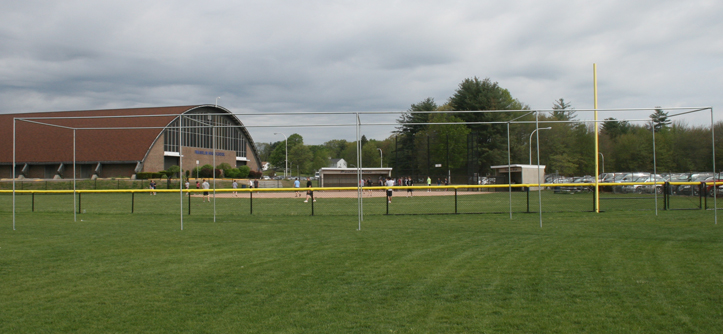
- Stand two of these assembled sections up, place them in the holes, and connect them with the longitudinal poles. All poles should be measured and marked 4 ¼” on each end to ensure the pipes are all the way into fittings.
- Repeat step #5 until all poles are assembled.
- (Ignore Step 7 if ground sleeves are secured in cement) Compact the dirt around the ground sleeves.
- Stretch the net out on the ground and clip a corner and clip up one end of the net. Have (1) person on one side of the cage and person on the other side and clip up net evenly 3 times per section.
- After each clip is attached, make sure to push net and hanger as far toward other end of frame that hasn’t been clipped.
HOW TO MAKE HANGERS
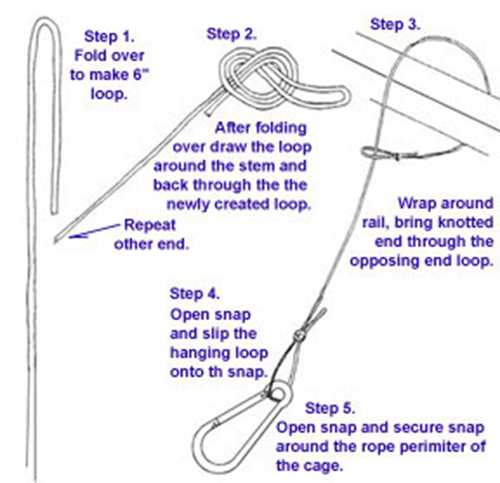
10. Raise the corners up more, and keep adding Hangers going toward the ends of the frame.
You May Also Like
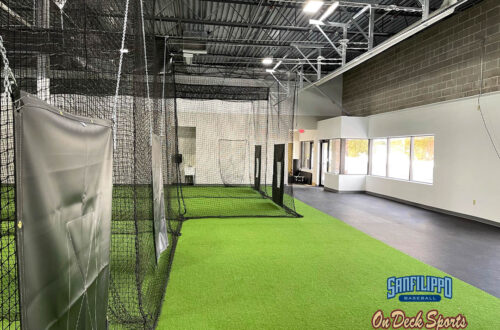
Facility Feature: Sanfilippo Baseball – Wisconsin
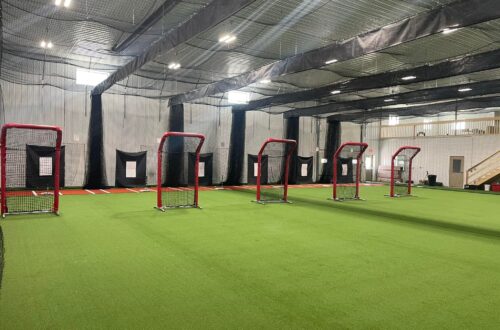
Facility Feature: The Playground